It's Day 6 of the DDL Flats and Handwashing Challenge! Today's blogging prompt is about folds. There are MANY tutorials out there online dedicated to the many ways to fold a flat diaper. I'll list a few of them here:
When my daughter was a newborn we had some flats in our rotation and I loved the Origami Fold. Now that she's 19 months old and 30 lbs we had to quickly adjust our folding methods to accommodate her size and absorbency needs! I made up a fold on day 1 that seemed like it would give her the best fit and absorbency. On Day 2 of the challenge we experimented with a few different folds (origami, kite, triangle, jelly roll) and I'll just say that this was our most challenging day and we could not get the absorbency we needed. Day 3 (and from then on) we went back to the made up fold from Day 1. Now, I'm not claiming to have invented this fold as it probably exists somewhere else already, but this is what I came up with on-the-fly that seemed practical...and worked!

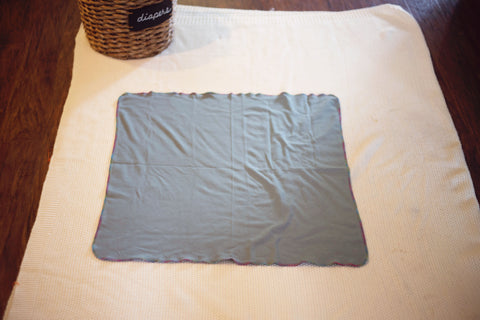
1. Lay your flat diaper out on your changing surface.

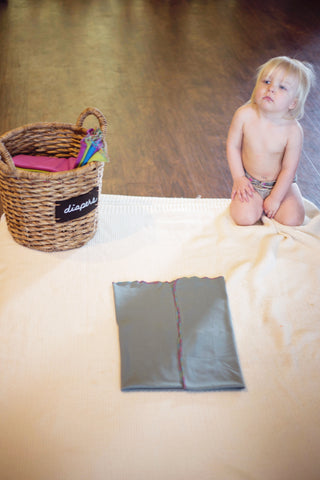
2. Fold up the bottom third of the diaper


3. Now fold the left side of the diaper in and then the right side so that they meet in the middle.
4. Repeat step 3. Now you have 8 layers of fabric.

5. Open up the back half of the diaper so your have "wings" to fasten around your baby.

6. Place baby on diaper. Pull the front up and the wings around and secure with a Snappi, pins, or Boingo fastener. Then I jelly roll the legs in to create a kind of gussett/blow-out barrier. ;)

Done!
* Tip: I'm not a huge fan of dealing with poopy flat diapers folded this way, because the poop can make its way into a lot of the nooks and crannies of the folds. To prevent this, I have sometimes been putting a 5" x 13" single layer piece of fabric on top of the diaper before securing it. It gives us an extra layer of absorbency and it make it easier to spray the diaper down if it gets messy!

No comments:
Post a Comment